
How to cook guanciale without burning it
Learn what guanciale is, how it differs from pancetta, and how to render its fat gently for pasta, with clear texture checkpoints.
By Cooking Clarity
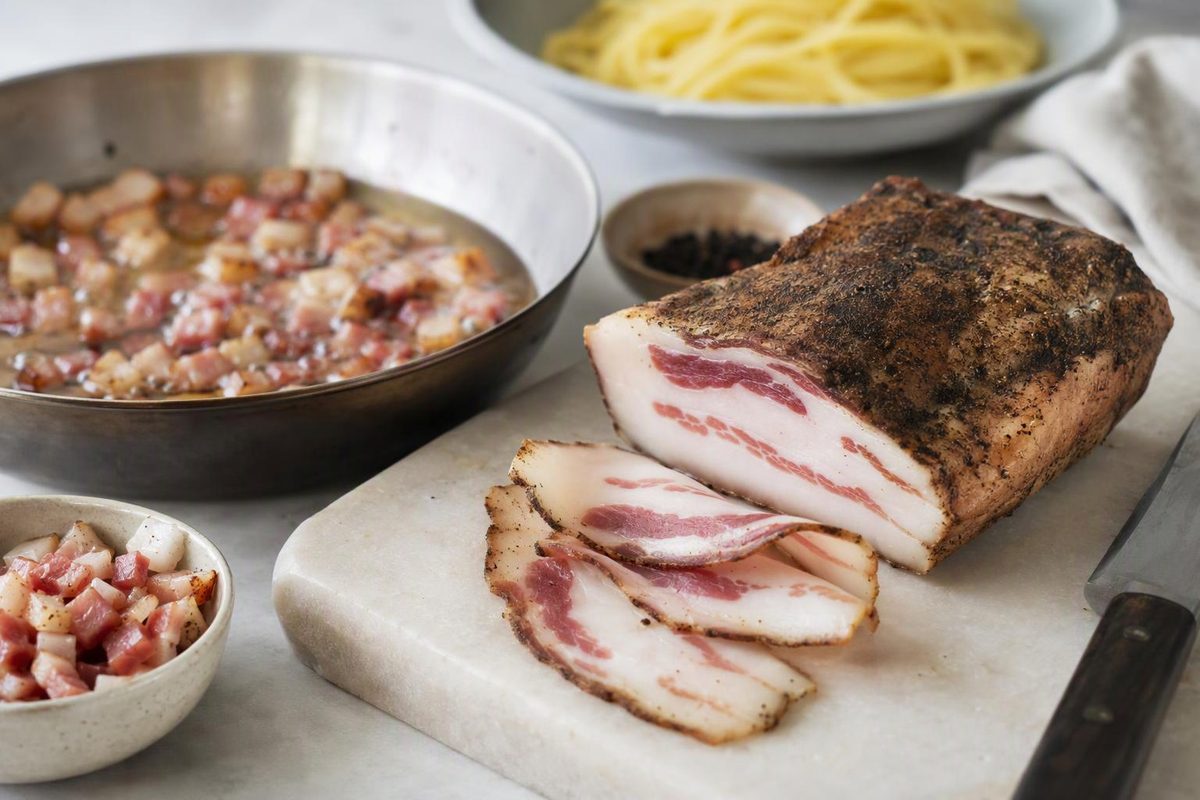
Guanciale is Italian salt-cured pork jowl—the cheek area—not pork belly. It brings both pieces of meat and flavourful cooking fat to dishes such as carbonara, amatriciana and gricia. The key cooking decision is to render the fat gently before pushing the pieces toward crispness, rather than treating them as meat to sear quickly. Rachel Roddy’s guide to guanciale and gricia explains how that melted fat becomes the foundation of the sauce.
Guanciale versus pancetta
Pancetta is salt-cured pork belly; guanciale comes from the jowl and is typically more fat-dominant. Pancetta is a practical fallback, but expect a different balance of meat, fat and flavour—not an identical result. Roddy’s comparison describes this distinction.
Seasoning varies, so check the ingredient list rather than assuming every piece tastes the same. For example, producer Vitali offers natural, pepper and chilli versions. Choose the seasoning that suits your dish.
How to render guanciale
Rendering means melting fat out of the solid pieces. Your useful checkpoints are a growing pool of liquid fat and gradually browning meat—not a fixed number of minutes. These are texture checkpoints, not a food-safety test: if your product requires cooking, follow its labelled cooking instructions as well.
- Trim and cut. If your piece has tough skin on its underside, remove that skin, not the surrounding white fat. Cut into evenly sized strips or small cubes. As a practical starting choice, aim for roughly 5 mm thickness; consistency matters more than that exact measurement. Memorie di Angelina’s gricia method likewise trims the skin and cuts the meat into strips.
- Start in a cold skillet. Spread the pieces across the base, then turn on low to medium-low heat. A cold-pan start is one established way to render gradually: Formaggio Kitchen’s method uses it for diced guanciale and pancetta. Start without extra oil; reassess only if your particular cut sticks before releasing fat.
- Let the fat collect. Stir occasionally. Look for liquid fat gathering around the pieces while the meat begins to colour. If the outside darkens rapidly while little fat has rendered, lower the heat; briefly move the pan off the burner if needed.
- Choose your texture. For softer pieces, stop at light browning with some fat still in them. For crisp edges, continue gently, stirring and checking more frequently as they colour. You do not need to melt away every bit of white fat. The Memorie di Angelina recipe deliberately leaves some fat unrendered and stops at light browning.
- Keep the fat for the dish. If you want the pieces to retain crisp edges, lift them out while you finish the sauce, then return them near serving. Treat this as a texture choice, not a requirement.
If the fat smokes or the pieces blacken, take the pan off the heat and lower the burner setting. Those are warning signs of excessive heat, not a better rendering endpoint.
Turn the rendered fat into dinner
For a straightforward first use, make gricia: pasta, guanciale, Pecorino Romano and black pepper. Reserve pasta cooking water, then toss the drained pasta in the guanciale pan with a little of that water. Turn off the heat before mixing in finely grated cheese. Add more water in small amounts as needed to make a coating sauce rather than leaving separate puddles of fat. This follows the sequence in Memorie di Angelina’s gricia recipe.
Guanciale also supplies the pork and fat in amatriciana, with tomato, and carbonara, with egg and cheese. For carbonara, follow a complete recipe for the egg-sauce stage; rendering the pork is only one part of the method.
Taste the finished sauce before adding extra salt: the cured pork and cheese already contribute seasoning.
Check the package, not just the pan
Follow your product’s storage and cooking instructions. For an opened piece, use the producer’s stated storage conditions and use-by guidance rather than borrowing another brand’s shelf life. Salumi Vida’s instructions, for example, distinguish unopened storage from refrigeration after opening.
If the label does not make clear whether the product is ready to eat or requires cooking, ask the seller or producer before proceeding.