
How to brew pour-over coffee with a clear ratio and pouring sequence
Start with a 1:17 pour-over ratio, follow a measured bloom and pouring sequence, then adjust sour, bitter or weak coffee one variable at a time.
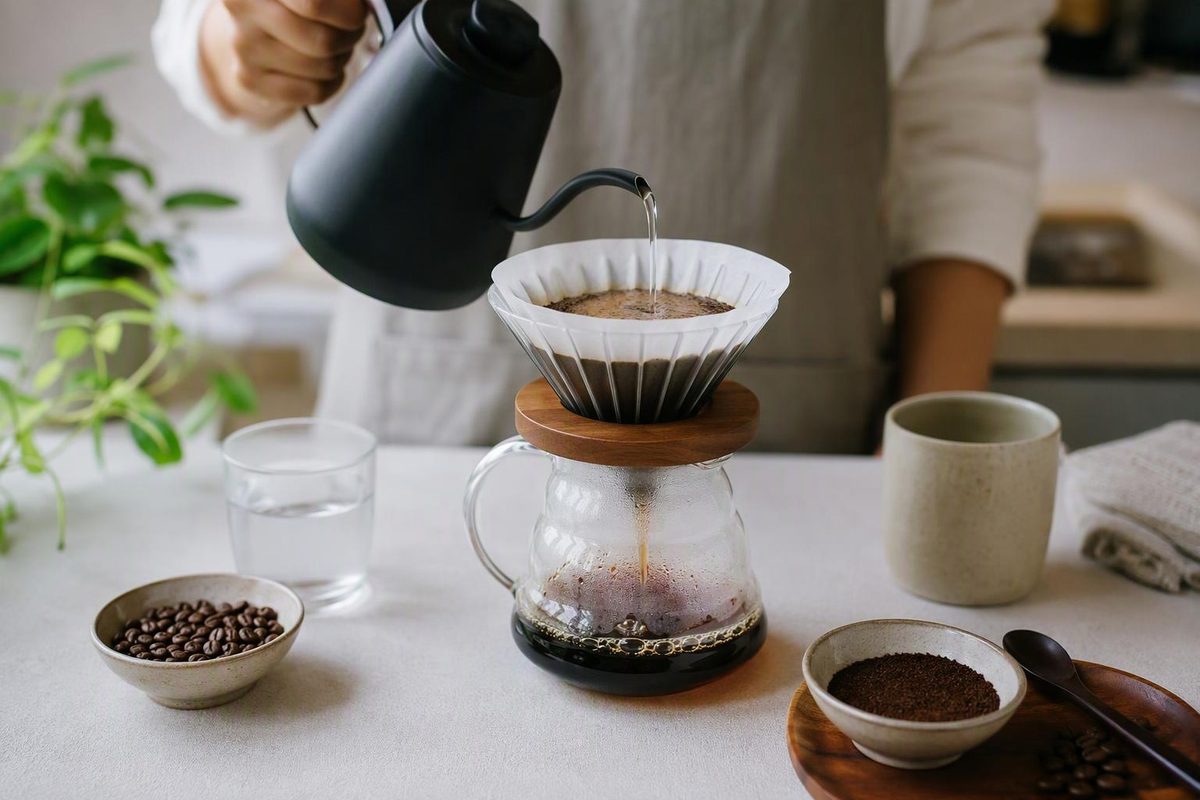
By Cooking Clarity
Start with 20 g coffee and 340 g water—a 1:17 coffee-to-water ratio. Wet all the grounds, pause for a short bloom, then add the remaining water in three controlled pours. Record the brew time, but use the taste of the finished cup to decide what to change.
This is a starting recipe for a small paper-filter pour-over dripper, not a universal setting for every coffee or brewer. Counter Culture recommends starting around 1:17 for flat-bottom and conical brewers. To use that ratio with a different dose, multiply the coffee weight in grams by 17 to find the brewing-water weight.
What you need
- A pour-over dripper, matching paper filter and mug or carafe large enough for the brew
- A digital scale that reads grams and a timer
- 20 g coffee, preferably ground just before brewing
- A kettle; a gooseneck makes a slow, directed pour easier
- 340 g brewing water, plus extra for rinsing the filter
Start with a medium grind, moving toward medium-fine for a V60. Grinder numbers are not interchangeable: choose the manufacturer’s pour-over range, then adjust by taste. A burr grinder makes those adjustments more repeatable. Fellow starts at medium, while Counter Culture describes a finer grind for the V60.
Brew it step by step
The sequence below adapts Fellow’s bloom-and-three-pour method to a 20 g dose and 340 g water total. The weights are cumulative scale readings, not separate additions.
1. Heat the water and prepare the filter
Use 200°F / 93°C as a starting kettle setting. Blue Bottle recommends 195–205°F, with darker roasts toward the cooler end and lighter roasts toward the hotter end. These are brewing choices, not food-safety thresholds. Source: Blue Bottle’s pour-over guide.
Fit the filter into the dripper and rinse it gently with hot water. For a pleated flat-bottom filter, avoid collapsing the sides. Discard the rinse water before brewing.
Set the mug or carafe and dripper on the scale. Add the ground coffee, gently shake to level the bed, then zero the scale.
2. Bloom with 40 g water
Start the timer as you begin pouring. Pour slowly over the grounds until the scale reads 40 g, making sure the entire bed gets wet.
Pause until about 35 seconds from the start. You may see the grounds swell and bubble as gases from roasting escape. The checkpoint is full wetting, not a dramatic foam cap. Fellow uses roughly twice the coffee’s weight in water for its bloom and allows about 35 seconds. Source: Fellow.
3. Add the remaining water in three pours
Pour in gentle circles across the coffee bed, rather than repeatedly aiming at one spot.
| Stage | Stop at this scale reading | Water added in this stage |
|---|---|---|
| Bloom | 40 g | 40 g |
| First main pour | 140 g | 100 g |
| Second main pour | 240 g | 100 g |
| Final pour | 340 g | 100 g |
Between main pours, let the water level fall to roughly 1 inch / 2.5 cm above the grounds, then resume. If your dripper is too small for that water depth, split the main pours into smaller pulses, still finishing at 340 g total. Never chase a weight target at the expense of overflowing the brewer. Keep the bed covered during the main pouring phase. These water-level checks follow Fellow’s method and Counter Culture’s guidance to avoid overflow or a dry bed.
4. Let it drain, then taste
After reaching 340 g, stop adding water and let it drain through. Remove the dripper and gently stir the coffee before tasting.
Use roughly 3–4 minutes from the first pour as a reference, not a pass/fail rule. Fellow gives that range; Blue Bottle’s different recipe gives 2:30–3:30. Brewer, coffee and grind affect the result. Fellow; Blue Bottle.
The 340 g target is water poured onto the grounds, not a promised finished-drink weight.
Fix the next cup—not every variable at once
Taste after the coffee has cooled enough to sip comfortably. Keep the dose, water weight and pouring sequence fixed while making your first grind adjustment.
| What you notice | First change to try |
|---|---|
| Unpleasantly sour and thin | Grind a little finer. |
| Bitter, drying or chalky | Grind a little coarser. |
| Drains unusually fast and tastes sour or thin | Try a finer grind; check that the whole bed was wetted. |
| Drains unusually slowly and tastes harsh | Try a coarser grind; check that the filter has not folded or collapsed. |
These are diagnostic starting points, not proof of a single cause. Fellow recommends finer grinding for overly sour or watery coffee and coarser grinding for bitter, drying coffee. If grind changes do not help, try a temperature adjustment in a separate brew: hotter for weak-and-sour coffee, cooler for bitter coffee, as Rogue Wave recommends. Roast character also matters; not every bright cup is under-extracted or every bitter cup over-extracted.
If the flavor is balanced but the strength is wrong, adjust the ratio instead. As a next trial, keep 20 g coffee and use 320 g water for a stronger 1:16 brew, or 360 g for a lighter 1:18 brew. Those are taste choices within Counter Culture’s recommended ratio range.
Write down the coffee, grind setting, ratio, temperature, total time and one taste note. If you like the cup, keep the recipe—even if its drain time falls outside the reference range.